DIY Tips for Wiring Landscape Lighting Safely and Efficiently
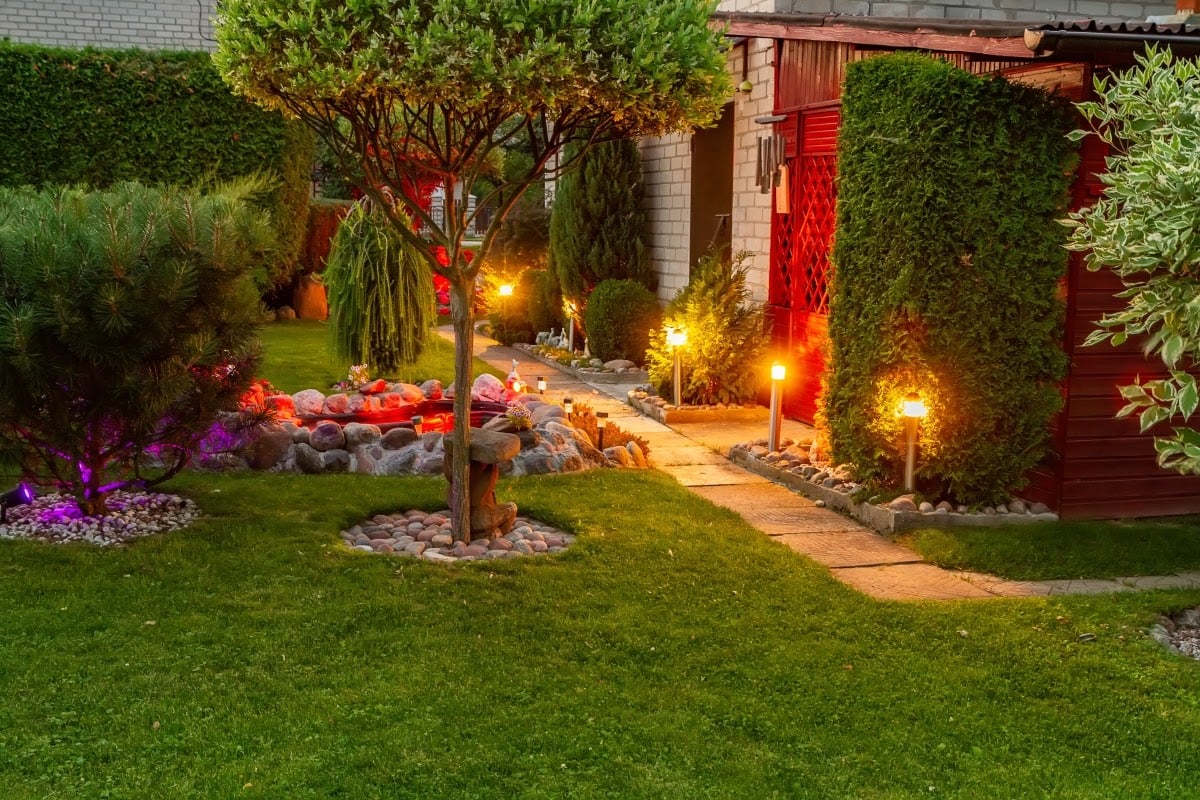
Installing landscape lighting is one of the best ways to transform the ambiance of your outdoor space. Whether you're illuminating a pathway, showcasing garden features, or adding security to your home, the proper lighting makes all the difference. Knowing how to wire landscape lighting not only ensures your system runs efficiently but also enhances the safety and beauty of your surroundings.
This comprehensive guide will walk you through the step-by-step process of wiring your landscape lighting safely and efficiently. As experts in irrigation and outdoor lighting, Vergel Irrigation Limited provides you with professional insights to help you create an elegantly lit landscape without the hassle.
 Why Landscape Lighting Matters
Before diving into the technical aspects of wiring, it's important to understand why landscape lighting plays such a significant role in outdoor design. Lighting not only adds curb appeal but also:
Why Landscape Lighting Matters
Before diving into the technical aspects of wiring, it's important to understand why landscape lighting plays such a significant role in outdoor design. Lighting not only adds curb appeal but also:
- Enhances safety
- Increases security
- Improves aesthetics
- Low Voltage (12V)
- Line Voltage (120V)
- Low voltage transformer
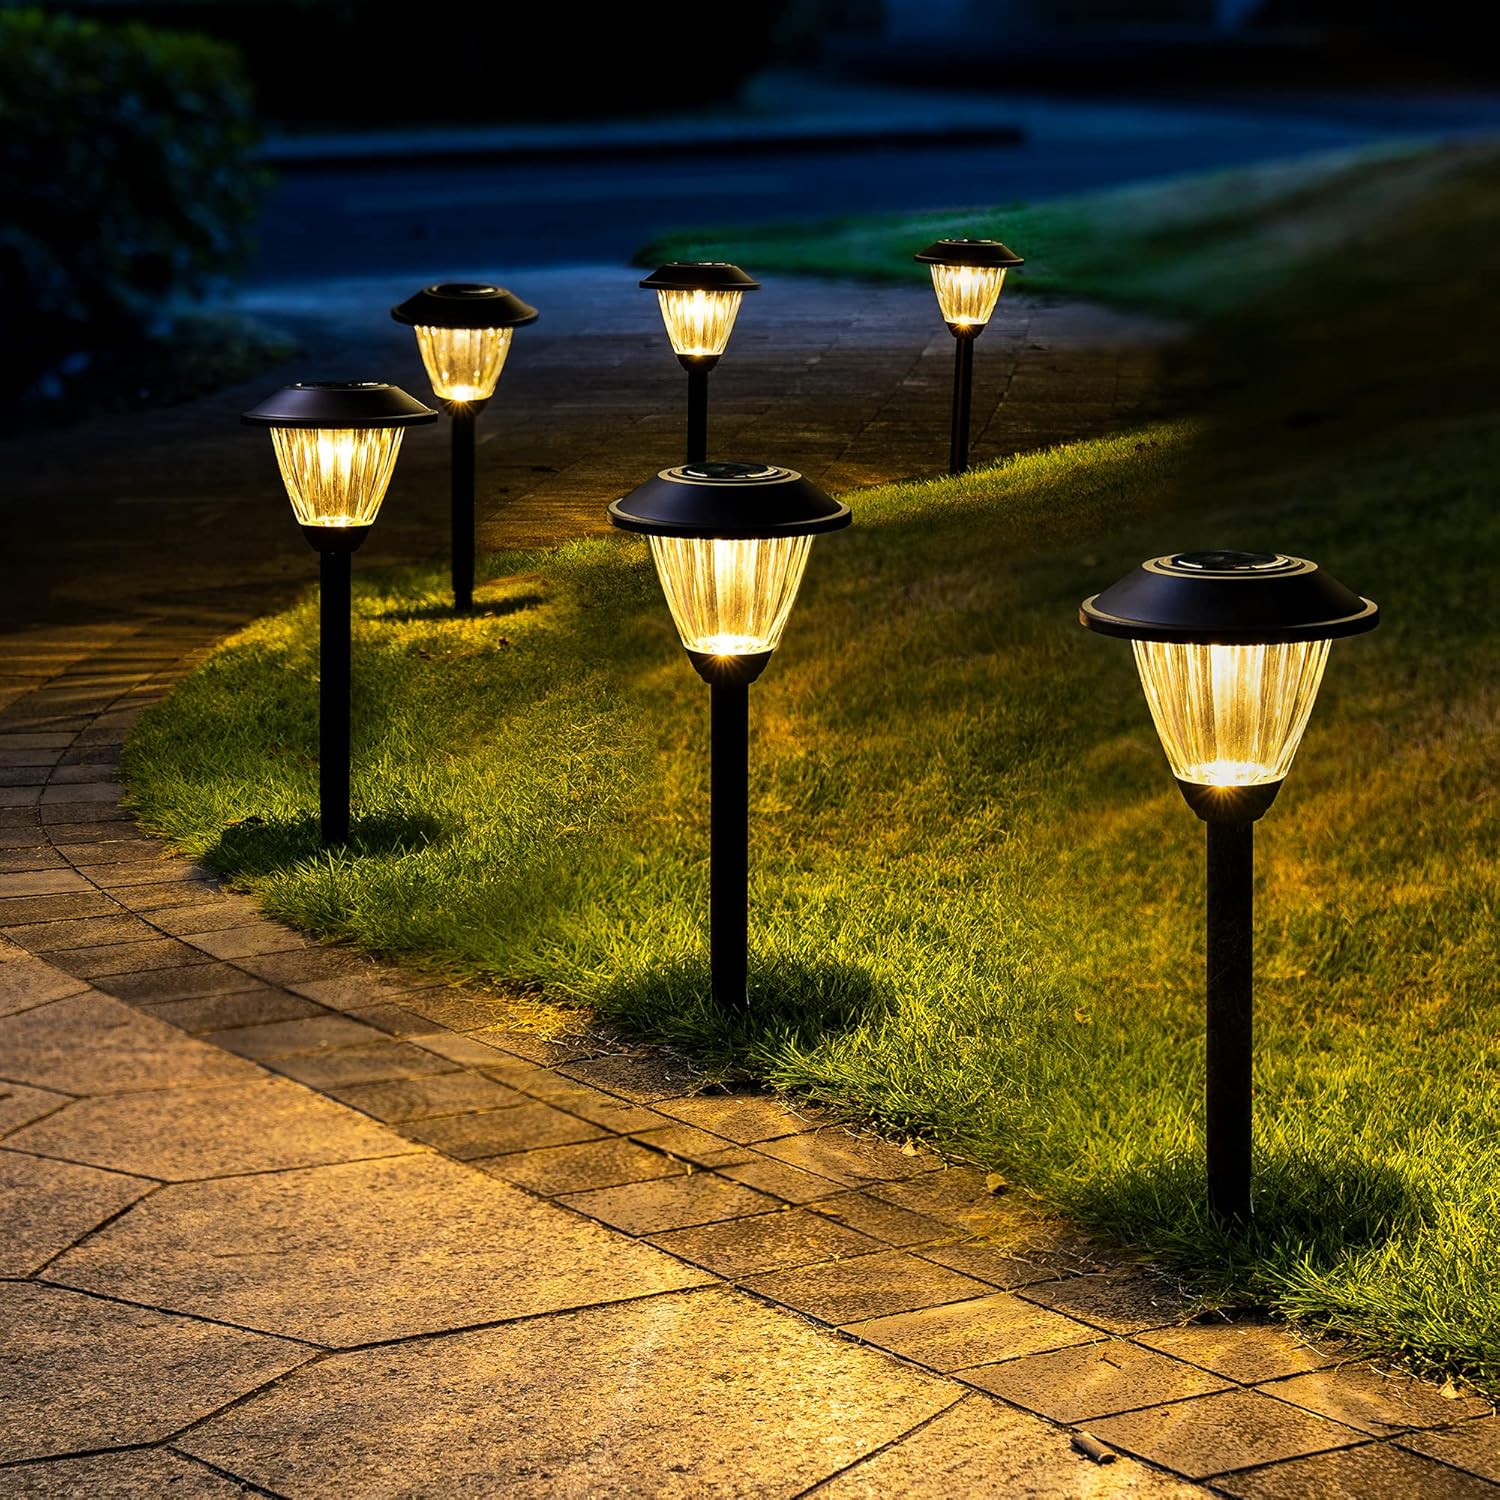
- Low voltage lights (e.g., LED pathway lights, spotlights)
- Low voltage wire (12- or 14-gauge, depending on the system’s total wattage)
- Wire strippers
- Wire connectors
- Electrical tape
- Shovel (for burying the wire)
- Timer or photocell (optional)
- GFCI outlet (Ground-Fault Circuit Interrupter) At Vergel Irrigation Limited, we recommend using LED landscape lights for their energy efficiency and longevity. Our range of outdoor lighting products also includes high-quality transformers with built-in timers and photocells for added convenience.
- Step 1: Plan Your Layout
- Step 2: Choose the Right Transformer
- Step 3: Run the Low Voltage Cable Once your layout is planned and your transformer selected, it’s time to run the cable.
- Step 4: Connect the Lights Most low voltage lights come with quick connectors, which make wiring simple. Here’s how to connect your lights:
- Step 5: Install the Transformer With the lights connected, it’s time to hook up the transformer.
- Step 6: Test Your System
- Step 7: Bury the Wire
- Step 8: Set the Timer or Photocell
- Keep connections dry
- Avoid overloading
Well-lit paths prevent tripping hazards, making your yard safer at night.
Strategically placed lights can deter potential intruders by eliminating dark spots around your home.
Lighting can highlight architectural details, plants, or water features, giving your landscape a warm and welcoming glow.
By choosing the right lights and wiring them correctly, you can bring out the best in your outdoor space, and Vergel Irrigation Limited is here to guide you through every step.Types of Landscape Lighting Systems
There are two primary types of landscape lighting systems: low voltage and line voltage. Each system has its own wiring requirements.This system is the most popular choice for DIY enthusiasts because it’s safe and easy to install. It uses a transformer to reduce your home’s standard 120V electrical current to a safe 12V. This voltage is ideal for accent lighting, pathway lights, and garden highlights.
These systems use the same voltage as the rest of your home’s electrical appliances. They are typically used for floodlights or high-intensity lighting, but installation requires professional assistance because of safety concerns and building code compliance.
For most homeowners looking for a safe, energy-efficient solution, low voltage landscape lighting is the best option. In this guide, we’ll focus on wiring a low voltage system.Tools and Materials You’ll Need
Before you start the wiring process, make sure you have the right tools and materials. Here’s what you’ll need:Step-by-Step Guide to Wiring Landscape Lighting
Begin by sketching out a layout of where you want to place your lights. Consider both functionality and aesthetics—lighting walkways for safety, illuminating garden beds, and highlighting architectural features.
Once you have a plan, measure the distance between each light and the transformer. This will help you determine how much wire you’ll need. Keep in mind that low voltage systems lose power over long distances, so make sure to place your transformer relatively close to the lights.
The transformer converts your home’s 120V electricity to 12V for your lights. To select the correct transformer, calculate the total wattage of your lights by adding up the wattage of each fixture. Your transformer’s capacity should exceed this total wattage to ensure it can handle the load.
For example, if you have ten 5-watt lights, you’ll need a transformer with at least a 60-watt capacity. Vergel Irrigation Limited offers a wide range of low voltage transformers, some with built-in photocells that automatically turn your lights on at dusk and off at dawn.
Start by placing your transformer near a GFCI outlet.
Unroll the low voltage wire from the transformer to each light fixture location, leaving extra wire at each fixture point for connections.
Use a shovel to dig a shallow trench (about 3-6 inches deep) for burying the wire. This keeps the cable protected from damage.
Make sure to run the wire in a way that minimizes the distance from the transformer to avoid voltage drop.Cut the wire where each fixture will be installed, leaving enough slack to make a secure connection.
Strip about ½ inch of insulation from the wire ends.
Attach the fixture's leads to the cable using the quick-connect fittings or wire connectors. Ensure the connections are tight and secure.
Wrap the connections in electrical tape to protect them from moisture and dirt.
At Vergel Irrigation Limited, our landscape lights are designed for easy installation, with durable quick-connect fittings to make the process hassle-free.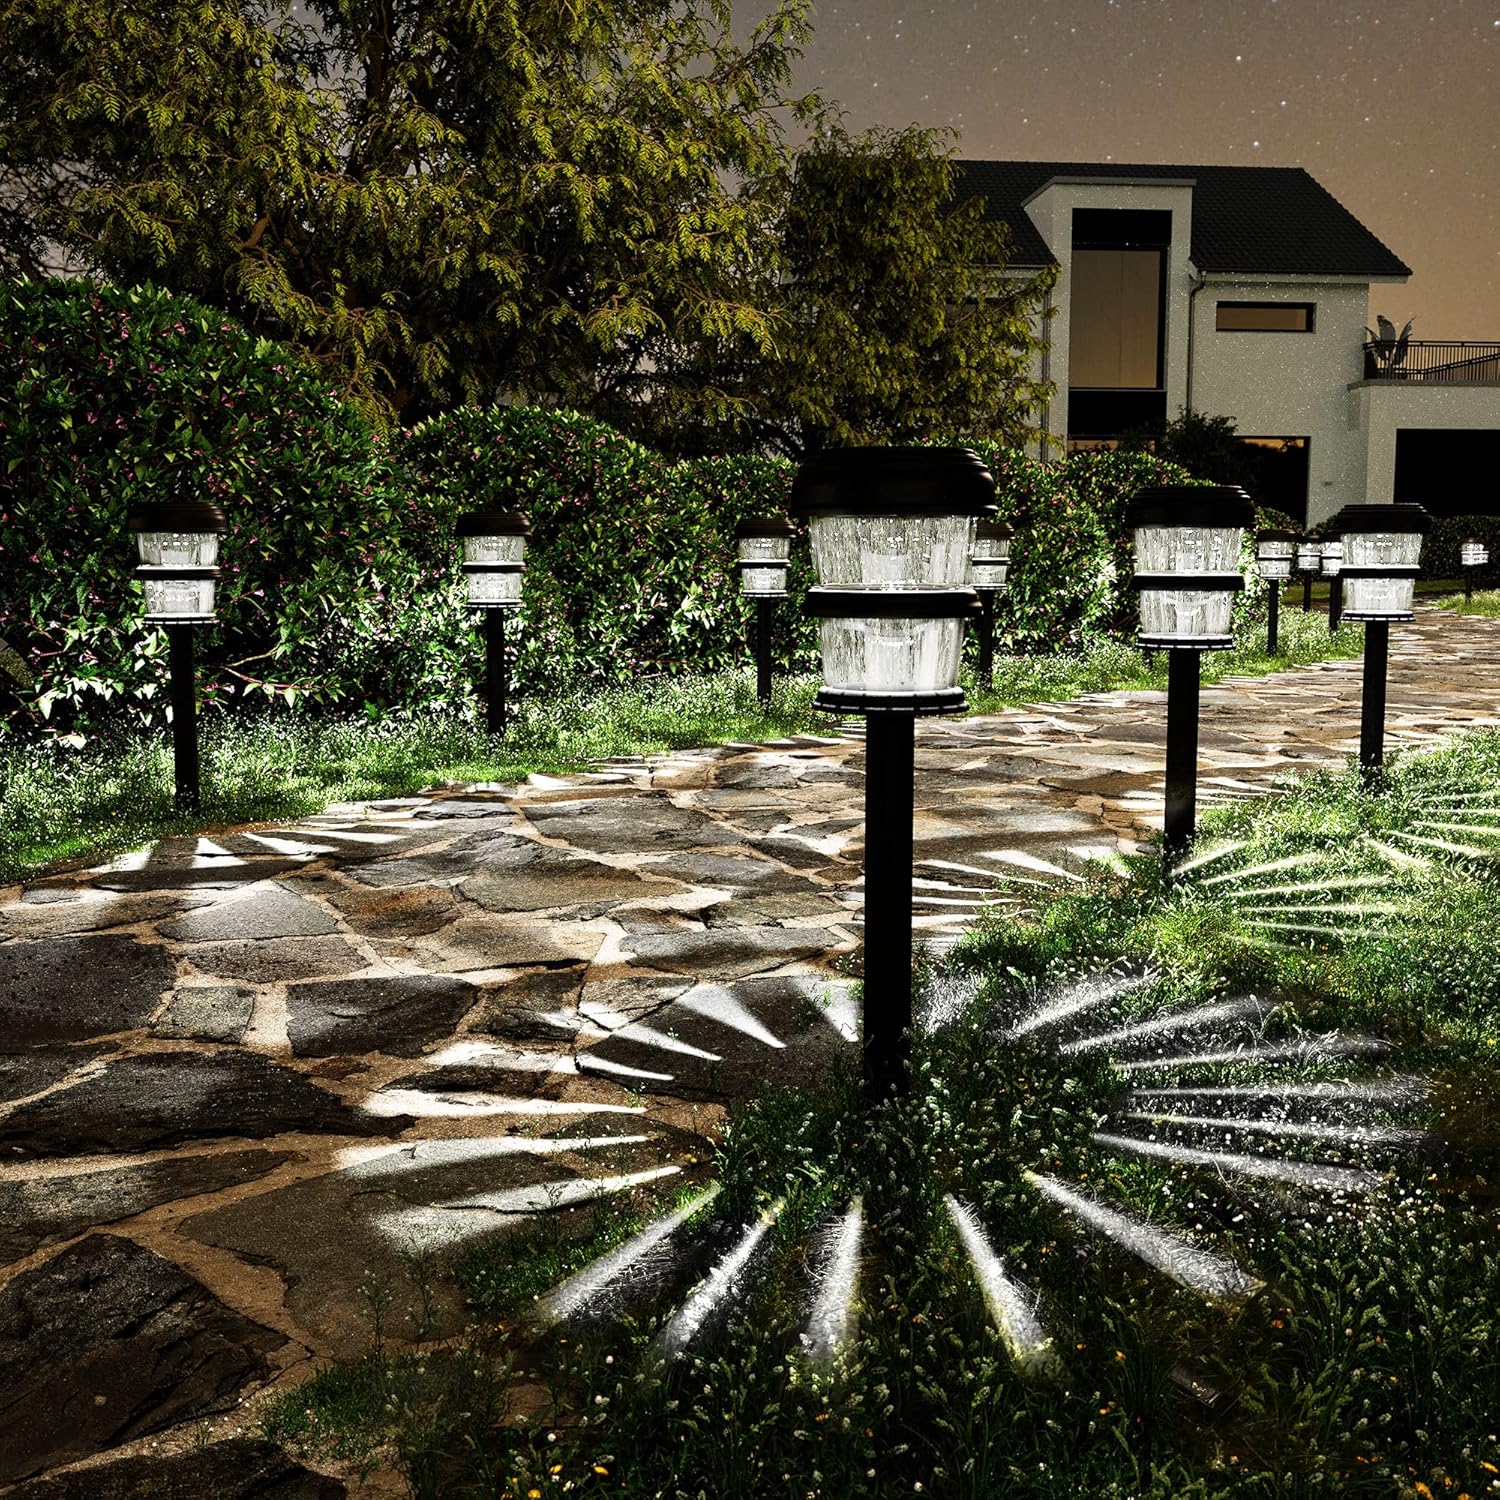
Mount the transformer on a wall or post near your GFCI outlet. Make sure it’s placed in a location that’s easy to access for maintenance or adjustments.
Attach the two leads from the low voltage cable to the transformer’s output terminals.
Plug the transformer into the GFCI outlet.
If your transformer has a built-in timer or photocell, you can set it to automatically turn the lights on and off based on the time of day or ambient light levels.Before burying the wire, test your lighting system to ensure everything works as it should. Turn on the transformer and check each light to make sure it’s properly illuminated.
If some lights appear dimmer than others, this could be due to voltage drop. Use a voltmeter to check the voltage at each fixture; it should be between 10.5V and 12V. If the voltage is too low, you may need to use a thicker gauge wire or shorten the distance between the transformer and the farthest light.
Once you’re satisfied with the placement and brightness of your lights, it’s time to bury the wire in the trench. Make sure the wire is fully covered to protect it from damage caused by lawn maintenance or weather conditions.
If your transformer includes a timer or photocell, now is the time to set it. A timer allows you to control when the lights turn on and off, while a photocell automatically adjusts the lighting based on natural light levels.
At Vergel Irrigation Limited, we offer transformers with built-in timers and photocells for effortless automation, so you never have to worry about manually turning your lights on or off.
Safety Tips for Wiring Landscape Lighting
 Always plug your transformer into a GFCI outlet to protect against electrical shock.
Use weatherproof wire connectors and wrap them in electrical tape to prevent moisture from getting inside.
Ensure your transformer can handle the total wattage of your lights.
By following these safety precautions, you’ll ensure that your landscape lighting system is not only beautiful but also safe.Conclusion
Wiring your own landscape lighting system can be a rewarding DIY project that significantly enhances your outdoor space. By following these steps and using high-quality materials from Vergel Irrigation Limited, you can safely and efficiently light up your landscape, creating a stunning outdoor environment.
Whether you're looking for low voltage lights, transformers, or solar-powered options, Vergel Irrigation Limited has everything you need to turn your landscape lighting dreams into reality. With the right planning, tools, and guidance, you’ll enjoy a beautifully illuminated yard for years to come.